Boot Process
1. What does Booting Mean ? 💻
Basic Input/Output System (BIOS)orUnified Extensible Firmware Interface (UEFI)main function is to initialise the hardware components and start the Operating System. The firmware then takes care of configuring and ensuring a proper hardware state. RAM, Disks, motherboard, graphics card.
Booting is the process of switching the computer ON and starting the operating system. The proces, consists in 6 steps:
- BIOS and Program Setup
- Power-On-Self-Test (POST)
- Operating System Load
- Boot Loader Execution
- Kernel Initialisation
- Logon/Graphical Interface
The following process describes how the BIOS Legacy works. On modern systems, UEFI is utilised and uses different techniques to provide a more secure and efficient boot. I will start explaning BIOS and will expand with UEFI.
2. Basic Input/Output System (BIOS) 🔧
A
REGISTERis a physical component of CPUs that are small and are intended for fast storage. They are used to store operands, intermediate results, memory addresses and other data required by the CPU. They are crutial to execute instructions efficiently. (Arithmetic instructions)
A
CPU runs instructions sequentially, i.e. first moving one value to a register, then adding 1 to that register, etc.
JUMPis an assembly instruction that lets the CPU/program know the place from which needs to start reading instructions. If some code I want to execute starts in 0xFFFF10 and the CPU is currently executing instructions sequentially at 0x120321, if the next instruction is a JUMP 0xFFFF10, the CPU will start running instructions at that memory address.
Read-Only Memory (ROM)is a non-volatile memory, which means that it retains its contents even when power is turned off. It is a physical chip that is commonly found on motherboards. They contain firmware or instructions that are essential for booting up the system and performing basic input/output operations. This memory and can only be written once and is then read-only.
A
Boot Loaderis a small program that resides in the system’s firmware or in a dedicated boot partition. Its primary function is to load the Operating System into memory and start its execution. It handles the transition from the firmware’s execution to the operating system’s execution.
1. BIOS and Pogram Setup
After a computer is switched on, its computer’s central processing unit (CPU) has no software in its main memory. For that reason, processes must load software into memory before they can be executed.
- When the computer is first started, the CPU executes a harcoded JUMP instruction from a CPU register.
- The CPU jumps to a predefined memory location in the
Read-Only Memory (ROM)where the firmware is stored (BIOS or UEFI). - The CPU starts executing the BIOS/UEFI directly from the ROM.
2. Power-On-Self-Test (POST)
- The BIOS runs a power-on self-test (POST) to check and initialise required devices such as main memory (DRAM), the CPU, the PCI bus and the PCI devices…
3. Operating System Load
- If the POST succeeds, the BIOS loads an MBR Partition Table into the RAM.
- The BIOS then goes through (the MBR table) a pre-configured list of non-volatile storage devices until finds one that is bootable (active partition, active flag set).
- Typically the primary boot device is the internal Hard Drive or SSD, where the OS is installed.
4. Boot Loader Execution
- The boot loader, such as the Windows Boot Manager (bootmgr), is loaded from the designated boot device into memory.
- Once it is executed, it loads the Windows kernel (ntoskrnl.exe) into RAM memory and hands over the control.
- The kernel initialises the Windows executive subsystem and other core components required for the operating system to function.
5. Kernel Initialisation
- The Windows Kernel initialises various
system services, drivers, and components necessary for system operation. - Sets up memory management, initialises hardware drivers, and prepares the system for user interaction.
6. Logon/Graphical Interface
- The Graphical User Interface (GUI) or login screen is presented to the user.
- Authentication is required and the Windows Desktop Environment is loaded.
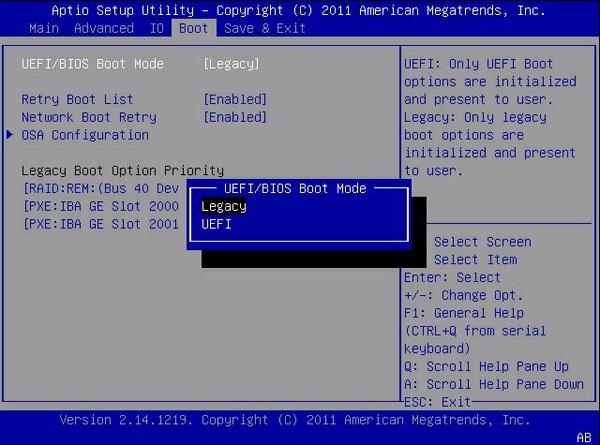 BIOS Firmware Interface
3. Unified Extensible Firmware Interface (UEFI) 📟
EFI System Partition (ESP)is a dedicated partition on a data storage device. It is formatted with a FAT file system and contains EFI applications, including boot loaders for the operating system and utility software.
UEFI is a modern firmware interface intended to replace the legacy BIOS. It provides enchanced security mechanisms as well as proven efficiency on boot.
1. UEFI Initialisation
- When the computer is turned ON, the UEFI firmware initialises from a special memory named Non-Volatile RAM (NVRAM).
- UEFI firmware performs various initialisation tasks, such as detecting and initialising hardware components, configuring system settings, and setting up the boot environment. This process is similar to the BIOS POST but employs a more comprehensive approach.
- It makes use of its own boot manager to load the UEFI applications in the EFI System Partition (ESP)
2. Boot Device Selection
- The firmware reads boot information from the ESP. In contrast from BIOS, which reads from the Master Boot Record (MBR).
- The UEFI firmware locates and prioritises bootable devices based on the boot order configured in the UEFI settings on the NVRAM.
- Bootable devices include internal storage drives (HDDs/SSDs), external storage devices, optical drives, and network boot options.
3. Boot Loader Execution
- UEFI firmware loads the boot loader specified in the boot order.
- The boot loader, often the Windows Boot Manager (bootmgfw.efi) for Windows systems, or GRUB for Linux systems, is responsible for loading the operating system kernel and initiating the boot process.
4. Operating System Loading
- Once the boot loader is executed, it loads the operating system kernel (e.g., Windows kernel, Linux kernel) into memory.
- The kernel initialises the operating system, sets up device drivers, and prepares the system for user interaction.
5. Graphical Interface or Logon
- Finally, the operating system presents the graphical user interface (GUI) or login screen to the user.
- If user authentication is required, the user logs in with their credentials.
- Once logged in, the desktop environment or user interface is loaded, and the user can start using the operating system.
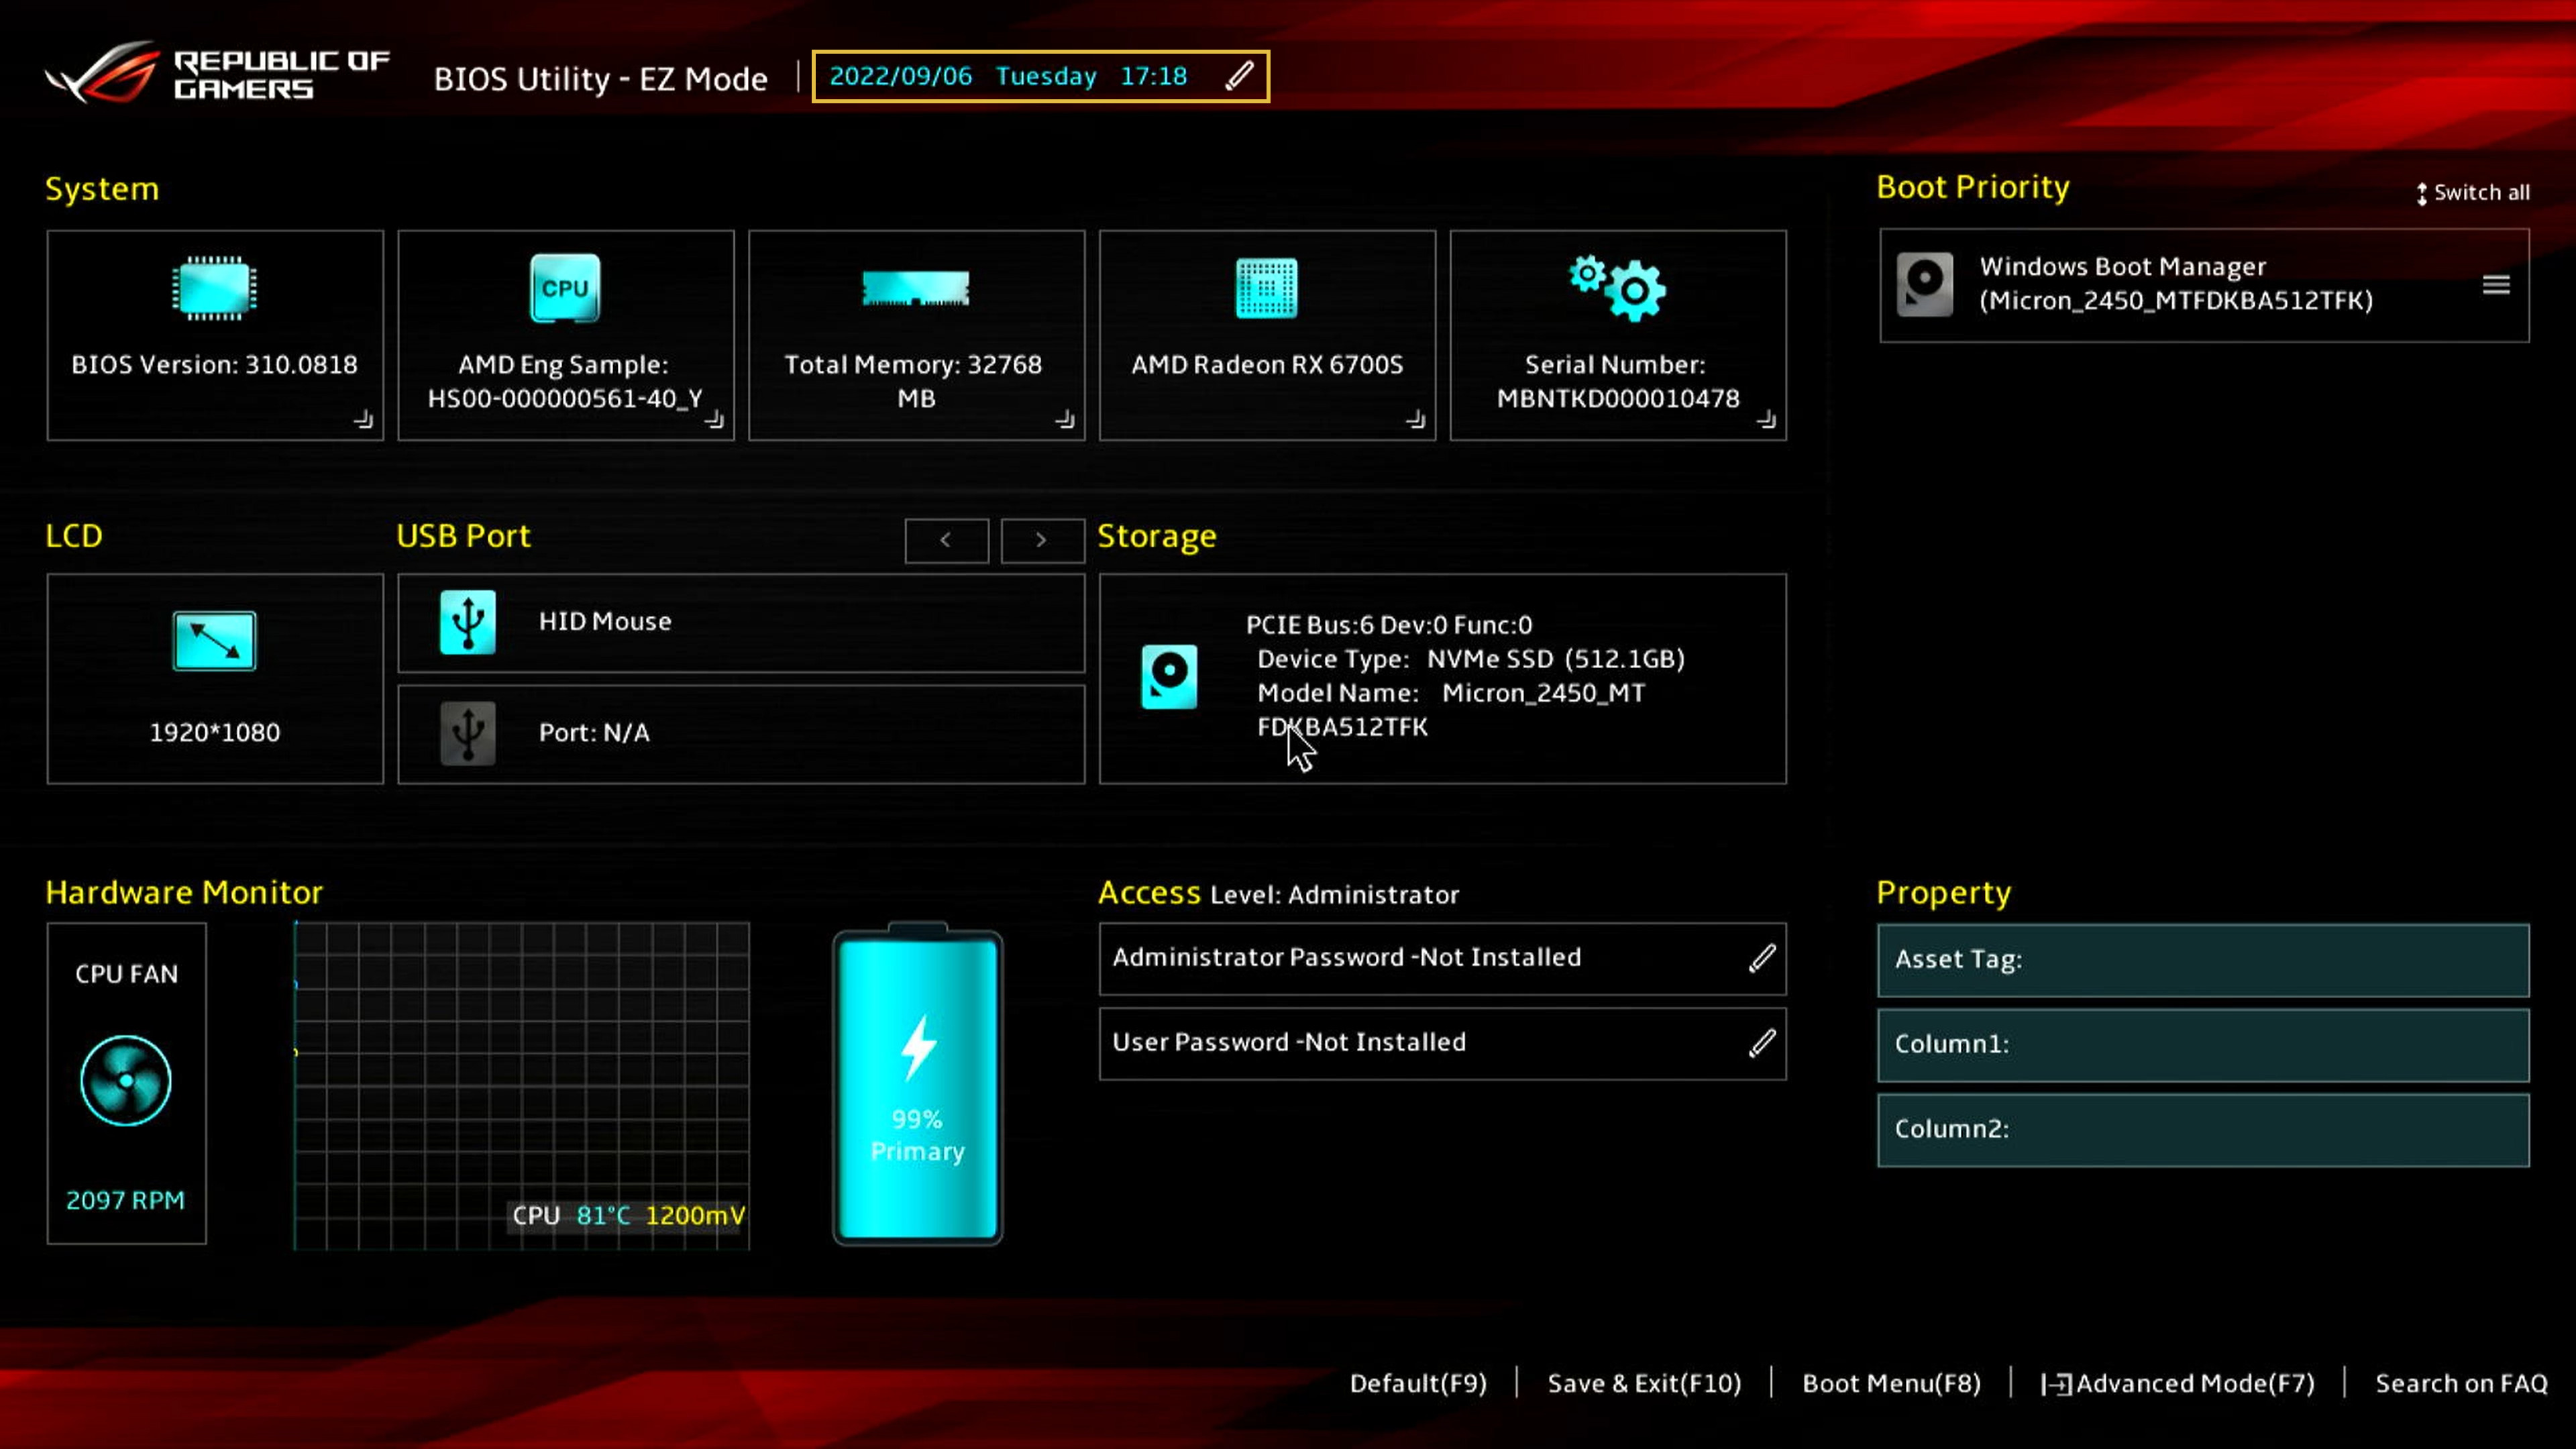 Asus UEFI Firmware Interface
4. UEFI Security 🛡️
UEFI implements multiple security mechanisms to ensure the integrity and configuration of the firmware and harwarde components provide a proper environment. The security implementations that will appear in this sections are focused on how modern Windows Operating Systems secure their booting process.
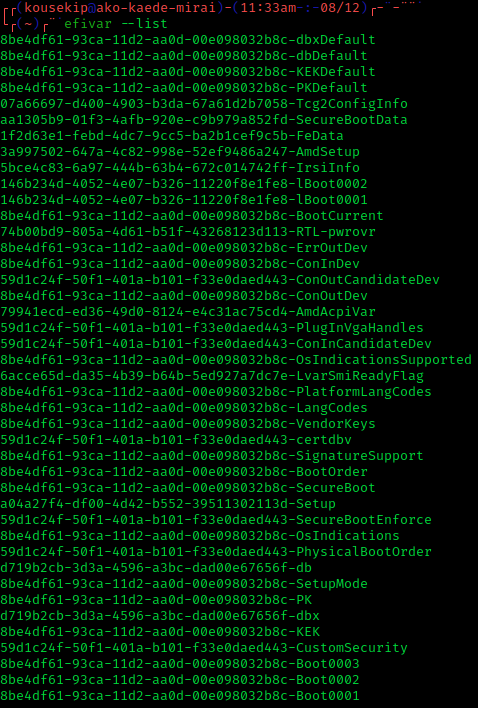
1. UEFI Variables
UEFI variables were created to enable interaction between the Operating System and the firmware. Their main usage takes place during early booting stages by the boot loader and the operating system.
They are a combination of a GUID of the variable owner, a name and a value which all combined prevent the name collision among different vendors. These variables are stored in a non-volatile memory.
As an example, there is a registry variable in Windows to prevent unauthorised access to the Local Security Authority (LSA). This registry entry can easily be removed by a local Administrator and hence bypass this restriction. However, this variable also exist as a UEFI variable which would apply its configuration even though the registry key is modified. Disabling that option would require running an speciallized tool or rebooting the computer which will lead the LSA to lose its temporary contents.
2. Core isolation
Core isolationis a security feature of Microsoft Windows that protects important core processes of Windows from malicious software by isolating them in memory. It does this by running those core processes in a virtualized environment.
Hypervisor-Protected Code Integrity (HVCI)
In order to properly understand Memory Integrity it is important to explain Virtualization-based Security.
The Microsoft
Virtualisation-based Security (VBS)makes use of hardware virtualisation and the Microsoft Hypervisor to create an isolated virtual environment that becomes the root of trust of the OS providing a secure execution environment for sensitive kernel components. VBS enforces restrictions to protect critical system and operating system resources, or to protect security assets such as authenticated user credentials.
Memory Integrity implement multiple security mechanisms making use of VBS.
- Code Integrity: Runs kernel mode code integrity within the isolated virtual environment.
Kerner Mode Code Integrityis a Windows process that reviews every kernel driver and binaries before execution preventing unsigned and untrusted drivers from being loaded into memory.
- Memory Protection: Restrict kernel memory allocations by making memory pages executable after successfully passing the code integrity checks.
- To protect kernel memory from unauthorized access and manipulation it implements
Secure Memory Encryption (SME)andControl Flow Enforcement Technology (CET).
- To protect kernel memory from unauthorized access and manipulation it implements
- Integration with Secure Boot: To ensure that only trusted code is loaded during the boot process. By verifying the digital signatures of boot components, HVCI helps establish a chain of trust from the hardware firmware to the kernel, thereby protecting the system from boot-time attacks.
Other Security Mechanisms - Microsoft Defender
There also are multiple other security mechanisms which are out of scope as they are not related with UEFI or the boot process. However, I will provide a bit of oversight and expand the techniques in a future post.
1. Memory access protection
Kernel DMA Protection implement protection mechanisms to prevent attacks from malicious devices when plugged into a Peripheral Component Interconnect (PCI). As an example, everybody knows spying or hacking films in where attackers connect a USB to a laptop and inject malicious malware or steal sensitive information. This would be prevented with this security mechanism.
In certain scenarios such as when the User is signed out or the PC is locked, these devices are prevented direct access to memory.
2. Firmware protection
Due to the firmware loading before anything else and running under the operating system, it is difficult for security tools running in the OS to detect attacks against the firmware. As an example taken by Microsoft, It is like a house that depends on a good foundation to be secure. The Windows Defender System Guard is a set of features that help ensure attackers are not able to start the device with untrusted or malicious firmware.
3. Microsoft Defender Credential Guard
Microsoft stores authentication tokens or secrets of a user to provide an efficient access to a variety of thngs such as apps, files, printers, etc. In a more technical way, Credential Guard prevents credential theft attacks by protecting NTLM password hashes, Kerberos Ticket Granting Tickets (TGTs), and credentials stored by applications as domain credentials.
This protection is done by putting these secrets in a protected and virtualised environment that only certain services can access them when necessary. Again this meakes use of the VBS described before.
Starting in Windows 11, version 22H2, VBS and Credential Guard are enabled by default on all devices that meet the system requirements.
4. Microsoft Vulnerable Driver Blocklist
Microsoft implements a blocklist of drivers that have known security vulnerabilities wich have been signed with certificates that had been found to sign malware. This security measure is important to avoid drivers, which interact directly with the operating system leaving them with a lof of sensitive access, from executing malicious payloads.
3. Secure Boot
Original Equipment Manufacturer (OEM)is generally known as the company that produces parts and equipment that may be marketed by another manufacturer.
The Secure Boot is a critical security measure implemented in Windows but developed by the Personal Computer industry. Its main purpose is to ensure that only software that is trusted by the Original Equipment Manufacturer (OEM) can be executed.
When the computer is started, the firmware checks the signature for each boot software such as the UEFI firmware drivers, the EFI applications and the OS. These signatures are stored in a database inside non-volatile NVRAM. If the signatures are valid the PC boots and grants access to the OS.
4. Trusted Platform Module (TPM)
The Trusted Platform Module (TPM) is a hardware crypto-processor designed to perform cryptographic operations which includes multiple physical security mechanisms.
It is generally good for:
- Generating, storing and limiting the usage of cryptographic keys.
- Enabling device authentication by using the TPM’s unique RSA key, which is burned into the chip.
- Ensuring integrity by storing security measurements of the boot process.
On boot, the boot code that is loaded (firmware and operating system components) can be recorded in the TPM. The integrity measurements can be used as evidence for how a system started and to make sure that a TPM-based key was used only when the correct software was used to boot the system.
This technology is also used for other reason such as disk encryption although its main purpose is to ensure integrity similarly to secure boot.
5. UEFI vs BIOS ⚔️
UEFI was created to address the limitations that the old BIOS had. In addition, it was also necessary to implement further security mechanisms an improve efficiency.
- Starting from the lower level, in UEFI it is possible to configure multiple Hardware features such as CPU overclocking, fan speed, driver configuration…
- Master Boot Record (MBR) vs GUID Partition Table (GPT).
- BIOS used MBR which was limited to 32 bit entries and 4 physical partitions.
- GPT now makes use of 64 bit entry with a total of 2 TB of capacity.
- There also is a capacity matter as UEFI can address hard drives up to 9.4 ZB
- UEFI also has a faster booting speed as all modules and drivers are loaded in parallel.
- Secure Boot and multiple other security mechanisms to implement integrity checks.
- UEFI can connect to internet to update.
In summary, the UEFI boot process is more advanced and maleable compared to the legacy BIOS process. It offers better security, supports modern hardware such as bigger disks, and provides a robust framework for initializing and starting modern operating systems.
6. UEFI in Windows 🪟
When Windows 10 is turned on, it goes through the following process:
- The device is powered on and runs the System on Chip (SoC) firmware boot loaders, which initialize the hardware on the device.
- The firmware boot loader boots the UEFI environment and gives control to UEFI applications written by the SoC vendor, Microsoft, and OEMs. These applications can utilize UEFI drivers and services.
- The UEFI environment launches the Windows Boot Manager which can choose what to do:
- Boot to the Main OS.
- Boot to Update the OS.
- Boot to reset mode.
- Boot to FFU flashing mode.
In general booting windows is quite similar to the whole BIOS and UEFI process although bearing in mind specific Windows Boot Manager and manufacturer things.
7. References 📃
- Microsoft. (2023, 23 March). UEFI Security - Windows drivers. Microsoft Learn.
- Raza. (2023, 15 November). Booting with UEFI (Unified Extensible Firmware Interface). Medium.
- Wikipedia contributors. (2024, 23 March). UEFI. Wikipedia.
- Windows-Driver-Content. (2023, 20 March). Virtualization-based Security (VBS). Microsoft Learn.
- Microsoft - Core Isolation. Microsoft Learn
- Windows-Driver-Content. (2023, February 8). Secure boot. Microsoft Learn.
- Vinaypamnani-Msft. (2023, 17 November). Trusted Platform Module Technology Overview - Windows Security. Microsoft Learn.